You can change your WiFi network name just by accessing your router’s settings. Don’t worry if you’ve never done this before—anyone can learn how to change wifi name, no matter your tech skills. Make sure you have your router, a device that connects to WiFi, and your login details ready. If you forget your password or want to keep your network secure, you’ll find helpful tips here. Feel confident as you follow each step!
Key Takeaways
Get everything you need first. You will need your WiFi router, a device that is connected, your login info, and the router's IP address. Make sure you write down your login info. Check that your device is on the WiFi network. Open a web browser and type in the router's IP address. Log in using your credentials. Go to the Wireless or SSID section. Look for the option to change your WiFi network name. Pick a WiFi name that is special and easy to remember. Do not use personal information in the name. This helps keep your network safe. Save your changes to set the new WiFi name. Devices will disconnect and must reconnect. You can use a mobile app if your router allows it. This can make changing your WiFi name easier. Change your WiFi password often. This helps keep your network safe from people you do not want using it.
What You Need Before You Start
Changing your WiFi network name is simple, but you’ll want to make sure you have everything ready before you dive in. This way, you won’t have to stop halfway through to hunt for a password or search for your router. Let’s get you set up for success!
Required Items
Here’s what you need to have on hand before you start:
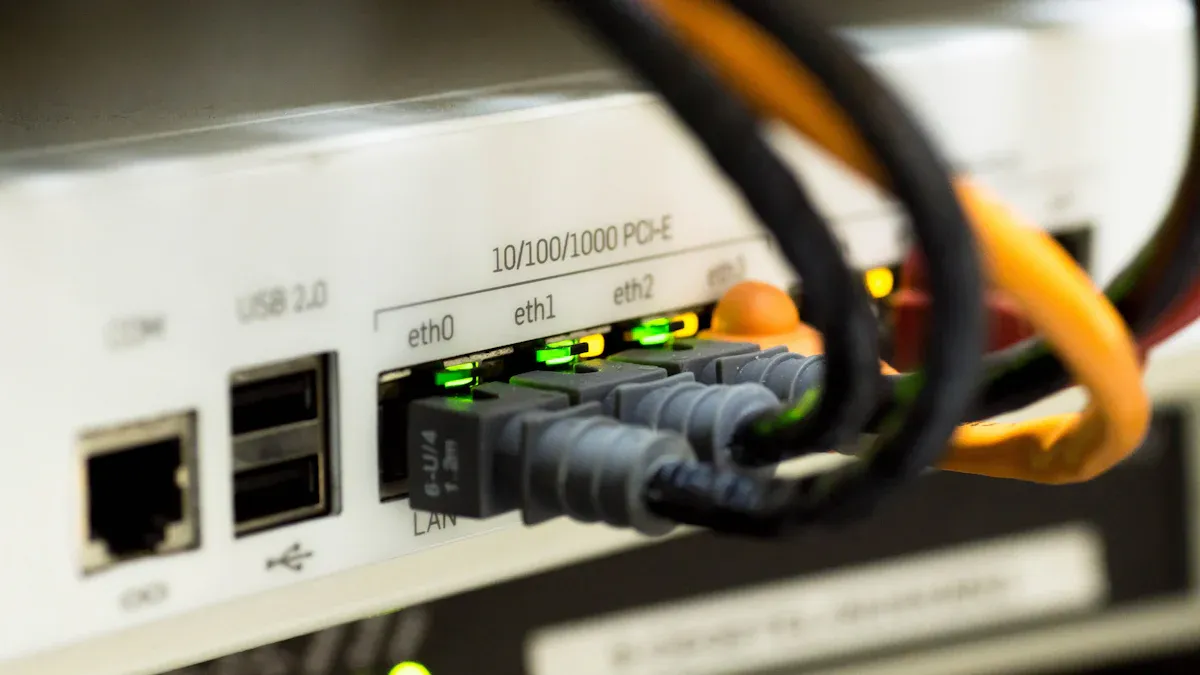
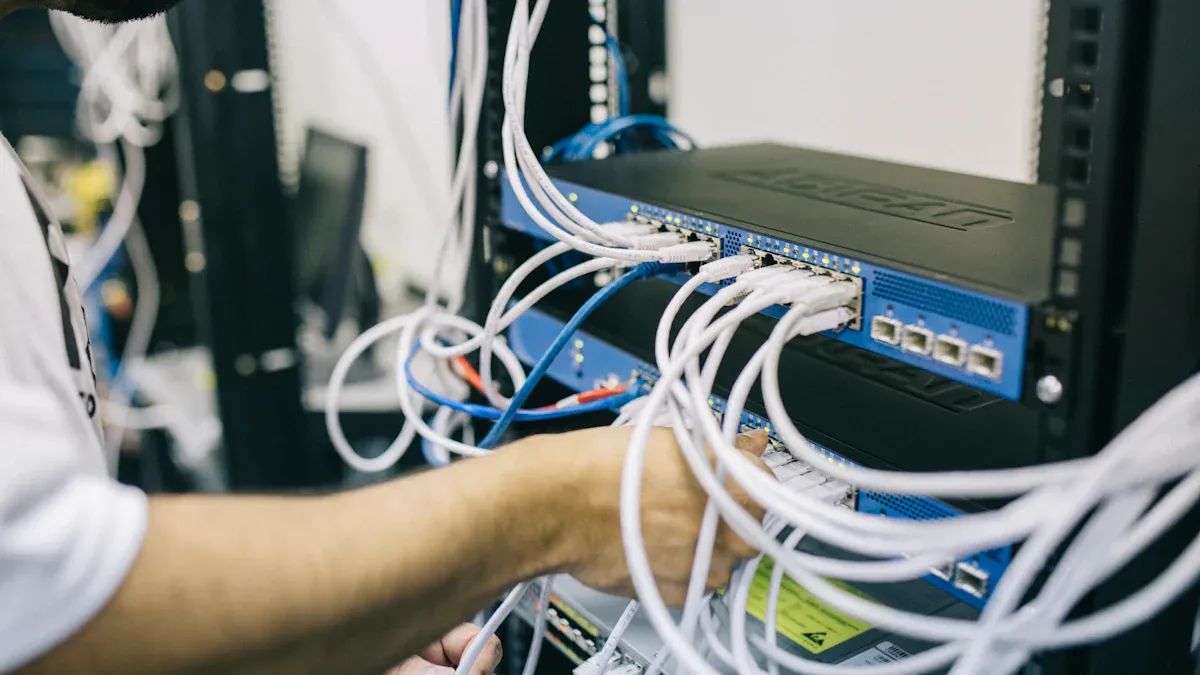
Your WiFi Router
You’ll need to access your router. Make sure it’s plugged in and powered on.
A Device Connected to Your Network
This can be a computer, laptop, tablet, or even a smartphone. Just make sure it connects to your WiFi.
Router Login Credentials
You’ll need the username and password for your router’s admin page. If you’ve never changed these, they might still be set to the default. You can usually find this info on a sticker on your router or in the manual.
Router’s IP Address
Most routers use something like 192.168.0.1 or 192.168.1.1. You’ll type this into your web browser to access the settings.
Tip:
If you can’t find your login info, check the bottom of your router or look up your router model online. Many brands use “admin” for both the username and password by default.
Here’s a quick table to help you check off what you need:
Item | Where to Find It | Ready? |
Router | Your home | [ ] |
Connected Device | Your phone or computer | [ ] |
Login Credentials | Router sticker/manual | [ ] |
Router IP Address | Router sticker/manual | [ ] |
Preparation Tips
Getting ready ahead of time makes the whole process smoother. Here are some simple tips:
Write Down Your Login Info
Jot down your username and password on a sticky note or in a notebook. Keep it nearby so you don’t have to pause and search.
Check Your Device’s Connection
Make sure your device is already connected to your WiFi. If you use a computer, a wired connection can be even more stable.
Find a Comfortable Spot
Sit near your router if possible. Sometimes you may need to check the back or bottom for information.
Set Aside a Few Minutes
The process doesn’t take long, but you’ll want to do it without rushing.
Note:
If you share your WiFi with family or roommates, let them know you’ll be changing the network name. Their devices will disconnect for a moment, and they’ll need to reconnect once you finish.
When you have everything ready, you’ll breeze through the steps. Preparation helps you avoid frustration and makes the process feel easy. Now you’re set to move on to changing your WiFi name!
How to Change WiFi Name
Changing your wifi network name might sound tricky, but you can do it in just a few steps. This step-by-step guide will walk you through how to change wifi name using your web browser. You’ll also learn about mobile app options for some routers and what to do after you finish. Let’s get started!
Step by Step Guide
Find Router IP
First, you need to find your router’s IP address. This is a special number that lets you access your router’s settings. Most routers use addresses like 192.168.0.1, 192.168.1.1, or 10.0.0.1. You can usually find this number on a sticker on your router or in the manual.
Open your favorite web browser. You can use Chrome, Firefox, Safari, or any browser you like.
Type your router’s IP address into the address bar at the top of the browser window.
Press Enter on your keyboard.
Tip:
If you’re not sure which IP address to use, check the bottom of your router or search for your router model online.
Log In
Now you’ll see a login page. This is where you enter your router’s username and password. These are not the same as your WiFi password. If you never changed them, the default is often “admin” for both fields.
Enter your router’s username and password.
Click the Sign In or Login button.
Note:
If you can’t remember your login info, look for a sticker on your router or check the manual.
Go to Wireless/SSID
Once you’re logged in, you’ll see your router’s main menu. Look for a section called “Wireless,” “Wi-Fi Settings,” or “SSID.” This is where you can change wifi name.
Click on the Wireless or Wi-Fi Settings menu.
Find the box labeled Network Name, SSID, or something similar.
Enter New Name
Now you’re ready to enter your new wifi network name. Pick a name that’s easy to remember but doesn’t include personal information.
Tip:
Make your new wifi network name unique so you can spot it easily when connecting your devices.
Save Changes
You’re almost done! Saving your changes is important so your new wifi network name takes effect.
Look for a Save, Apply, or OK button at the bottom or top of the page.
Click it to save your new settings.
Your router may restart or take a few seconds to update.
Reconnect Devices
After you change wifi name, your devices will disconnect from the old network. You’ll need to reconnect them using the new wifi network name.
On each device, open the Wi-Fi settings.
Find your new wifi network name in the list.
Enter your WiFi password if asked.
Alert:
If you forget to reconnect your devices, you won’t have internet access until you do.
Can You Use a Mobile App?
Some routers let you change wifi name using a mobile app. This can be even easier than using a web browser. Here’s a quick look at how different brands compare:
Router Brand | Mobile App Features | Web Interface Features |
Linksys | App needed for setup; fewer advanced settings | More advanced options; more menus |
NETGEAR | Simple setup; easy to use | More detailed settings |
TP-Link | Quick access; user-friendly | Full settings; less intuitive |
If your router supports a mobile app, you can:
Open the app and go to Wi-Fi settings.
Enter your new wifi network name and password.
Save the changes and let your router reboot.
Reconnect your devices to the new network.
Most internet providers now offer apps that make changing the wi-fi name simple. You just tap through a few menus, enter your new wifi network name, and save. After your router restarts, you’ll need to reconnect your devices.
Note:
LB-LINK routers do not support changing the wifi name through a mobile app. You must use the web interface.
Common Mistakes to Avoid
When you change wifi name, it’s easy to make small mistakes. Here are some things to watch out for:
Don’t create multiple wifi network names by accident. This can confuse your devices.
Always save your changes before closing the browser or app.
Double-check your network settings after changing the wi-fi name.
Make sure your devices connect to the correct network name.
If you follow this step-by-step guide, you’ll know exactly how to change wifi name without any trouble. Remember to save your changes and reconnect all your devices. Now you can enjoy your new wifi network name!
Troubleshooting
Even when you follow every step, you might run into a few bumps along the way. Don’t worry! You can fix most problems with a little patience and the right steps. Let’s look at some common issues and how you can solve them.
Forgot Password
Forgetting your router password happens to everyone. You have a few ways to get back in:
Connect your device to the router using an Ethernet cable or WiFi.
Open your web browser and go to the router’s login page (like routerlogin.net).
Look for a “Password Recovery” option on the login screen.
Enter your router’s serial number. You can find this on a sticker on the router.
Answer the security questions you set up before.
Click continue to see your admin password.
If you never set up password recovery, you may need to reset your router. Keep reading for those steps.
Tip:
Write down your new password and keep it in a safe place. This will save you time next time you need it.
Reset Router
Sometimes, you just can’t remember your password or your router acts up. A reset can help. Here’s how you do it:
Find the small reset button on your router. It’s usually on the back.
Use a paperclip or pin to press and hold the button for about 10 seconds.
Wait for the lights to blink. This means your router is resetting.
Let the router restart. This can take a minute or two.
Use the default login info (often “admin” and “admin”) to log in again.
A user shared that their router often forgets the WiFi password, so they have to reset it every few days or even hours. If you notice this happening a lot, your router might need a firmware update or replacement.
Connection Issues
After changing the wi-fi name, some devices might not connect right away. Here’s what you can do:
Make sure Airplane Mode is off in your device’s settings.
Forget the old WiFi network on your device. Go to WiFi settings, select your network, and tap “Forget.”
Reconnect to the new network name and enter your password.
Restart your router and modem. Unplug them, wait 30 seconds, then plug them back in.
Try switching between 2.4 GHz and 5 GHz bands if your router supports both.
On a computer, you can run network commands to reset your connection. Open Command Prompt and type:
netsh winsock reset
ipconfig /renew
If nothing works, uninstall your network adapter driver and restart your device.
Many users notice that after changing the SSID, their internet connection drops. Sometimes, a hard reset is the only way to fix it. Don’t worry—this is common and usually easy to solve.
If you follow these steps, you’ll get your devices back online in no time. Stay calm and work through each tip. You’ve got this!
Change WiFi Name Security
Network Name Tips
Choosing a secure WiFi network name (SSID) helps protect your home and devices. You want a name that stands out to you but doesn’t give away personal details. If you use your name, address, or phone number, you make it easier for strangers to guess which network is yours. That’s not safe.
If you include personal information in your WiFi name, anyone nearby can see it. Some people think hiding the network name keeps it safe, but it doesn’t. Your network name is always visible to others, so never use private details.
Let’s look at some smart ways to pick a WiFi name:
| Recommendation --- | Description --- | | Use company name with suffix --- | If you have a business, add 'guest' for guest networks so people know which one to use. | | Isolate guest networks --- | Keep guest networks separate from your main network for better security. | | Avoid obvious names --- | Don’t use names that attract attention, like “Free WiFi” or your street address. | | Keep it short and sensible --- | Short names are easier to spot on your device, but make sure guests can find the right one. | | Do not hide SSID --- | Hiding your network name can confuse people and cause support problems. It’s better to label it clearly. |
You also want to avoid weak or common names. Attackers sometimes create fake networks with similar names to trick people. If your network name is too simple, it can attract unwanted attention.
| Threat Type --- | Description --- | | Low or No WiFi Encryption --- | Networks without strong encryption (like WPA3) are easy targets for hackers. | | Unauthorized Access --- | Weak or common names can let strangers connect to your network. | | Fake WiFi Networks --- | Hackers may copy your network name to trick you into joining their network. |
Piggybacking: Strangers might connect to your network if it’s not secure.
Data Interception: Hackers can steal information sent over weak networks.
Identity Theft: Poorly protected guest networks can lead to stolen personal data.
Update Password
After you change your WiFi name, you should update your password. This keeps your network safe and makes sure only trusted devices can connect. Here’s how you can do it:
Create a strong password. Use letters, numbers, and symbols. Make it long and hard to guess.
Disconnect all devices. When you change the password, everything will get kicked off the network.
Restart your devices and router. Turn them off, wait a few seconds, then turn them back on.
Re-enter the new password. Go to WiFi settings on each device and type in your new password.
If you have trouble connecting, make your device forget the network and add it again.
Tip: Change your WiFi password regularly. A long, complex password helps keep hackers out.
You don’t need to change your password every week, but doing it every few months is smart. If you ever think someone else knows your password, change it right away. Keeping your network name and password secure means you control who gets online at your house.
Checklist
Before you start changing your WiFi network name, it helps to double-check that you have everything you need. This checklist will keep you organized and make the process smooth from start to finish.
LB-LINK Devices
If you use an LB-LINK router, you need to use the web interface to change your WiFi name. LB-LINK routers do not let you make this change through a mobile app. You’ll want to follow these steps:
Open your web browser and go to your LB-LINK router’s management page. You can usually find the address on a sticker on your router.
On the main screen, select the Advanced option.
In the left menu, choose Wireless Settings and then Basic Settings.
Find the Network Name (SSID) field. Type in your new WiFi name and click Apply.
Next, go to Security Settings. In the Pass Phrase field, enter your WiFi password and click Apply.
Your router will reboot. After it restarts, you’ll need to reconnect your devices using the new network name and password.
Tip:
Always use the web interface for LB-LINK routers. The mobile app does not support changing the WiFi name.
Having the right steps in front of you makes the process much easier. You won’t have to guess or search for instructions while you work.
Login Info
You need a few things before you start. Here’s a quick list to help you get ready:
Your WiFi router (plugged in and powered on)
A device connected to your network (like a laptop, phone, or tablet)
The router’s login credentials (username and password)
The router’s IP address (often found on a sticker or in the manual)
Item | Where to Find It | Ready? |
Router | At home | [ ] |
Connected Device | Your phone or computer | [ ] |
Login Credentials | Router sticker/manual | [ ] |
Router IP Address | Router sticker/manual | [ ] |
Note:
Write down your login info before you begin. This way, you won’t have to stop and search for it halfway through.
When you prepare ahead of time, you avoid common problems. Many people run into issues like having a network name that matches someone else’s nearby. This can cause confusion and make it hard to connect your devices. If you just replaced your router, you might see a warning about using a common network name. Renaming your network helps you avoid these headaches.
Here are some common issues people face when getting ready to change their WiFi name:
You might get a warning if your new network name is too common.
Devices can have trouble connecting if your network name matches another one nearby.
It’s easy to mix up your network with someone else’s if you use a popular name.
Renaming your network makes it easier to spot and connect to your own WiFi.
✅ Pro Tip:
Pick a unique network name. This helps your devices find the right network and keeps things simple for everyone at home.
Take a minute to check off each item on your list. When you have everything ready, you’ll breeze through the process and enjoy your new WiFi name with no stress.
You just learned how to change your WiFi network name step by step. This process is easy for anyone. Try your new network name and make sure your devices connect. Keep your network safe by choosing a strong name and password. If you run into trouble, you can use tools like Airport Utility or ask for help. Sharing your new network name with family or guests is simple—just tell them directly and give clear instructions.
| Benefit --- | Description --- | | Branding --- | Your WiFi name acts like a billboard for your business or home. | | Efficient Connection --- | You control who connects and how long they stay online. | | Simplified User Experience --- | A unique name helps everyone find your network fast. |
Changing your SSID also makes it harder for attackers to guess your router type or use default passwords. You get a safer, more personal LB-LINK network.
FAQ
How do I find my router’s IP address?
You can check the sticker on your router or look in the manual. Most routers use 192.168.0.1 or 192.168.1.1. Try typing these into your browser’s address bar.
What happens if I forget my router login info?
You can reset your router using the small button on the back. Hold it for 10 seconds with a paperclip. After that, use the default username and password found on the router sticker.
Will changing my WiFi name disconnect my devices?
Yes, your devices will disconnect when you change the WiFi name. You need to reconnect each device using the new network name and your WiFi password.
Can I change my WiFi name from my phone?
Some routers let you use a mobile app. LB-LINK routers do not support this feature. You must use a web browser to change the WiFi name.
Is it safe to use my name in the WiFi network name?
No, you should avoid using personal information. Pick a name that is unique but does not reveal details about you or your family.
How often should I change my WiFi password?
You should change your WiFi password every few months. If you think someone else knows it, change it right away. A strong password keeps your network safe.